First Time Waxing a Bike Chain
Our Beginner Experience
Waxing a bike chain sounded intimidating at first. Hot wax? Degreasing? Special pots? It all felt a bit “pro mechanic.” But after trying it myself, I realised it’s actually very doable — even for a first timer.
Here’s how our experience went.
Starting Point: A Brand-New Bike
We decided to wax the chain on a completely new bike.
That meant:
The drivetrain had never been ridden
No dirt or grime buildup
Only the factory grease on the chain
Reason being is as this will be our first time doing this – we just need to focus on the chain.
Tips: its best to de grease all of your drive train to get the most out of it.
Step 1: Following the Online Guides
Like most people, we started by watching tutorials and reading step-by-step guides online. There’s no shame in that — waxing a chain is more about process than guesswork.
My goal:
Don’t rush. Just follow the steps carefully.
Couple resources: dynamic care blog, silca videos, and online articles.
Step 2: Degreasing the Chain (The “Easy Bit”)
Even on a new chain, factory grease must come off.
What I did:
Removed the chain
Placed it in a container with a proper chain stripping / degreasing product
Let it sit
Shook it thoroughly
Honestly, this part was easier than expected.
Tip:
Use the right de greaser. Not all cleaners remove factory grease effectively.
Step 3: Warm Water Rinse
After degreasing:
Took the chain out
Rinsed with warm water
Ensured no chemical residue remained
This step helps prevent contamination of the wax later.
Step 4: Drying the Chain (Important!)
We dried the chain using a microfibre towel.Dry it as best as you possibly can.
Any leftover moisture can affect how well the wax bonds.
I gently:
Pat dried
Rolled the chain in the towel
Let it air dry a little longer
Tips: you can use an air compressor to remove all the moistures left on the chain.
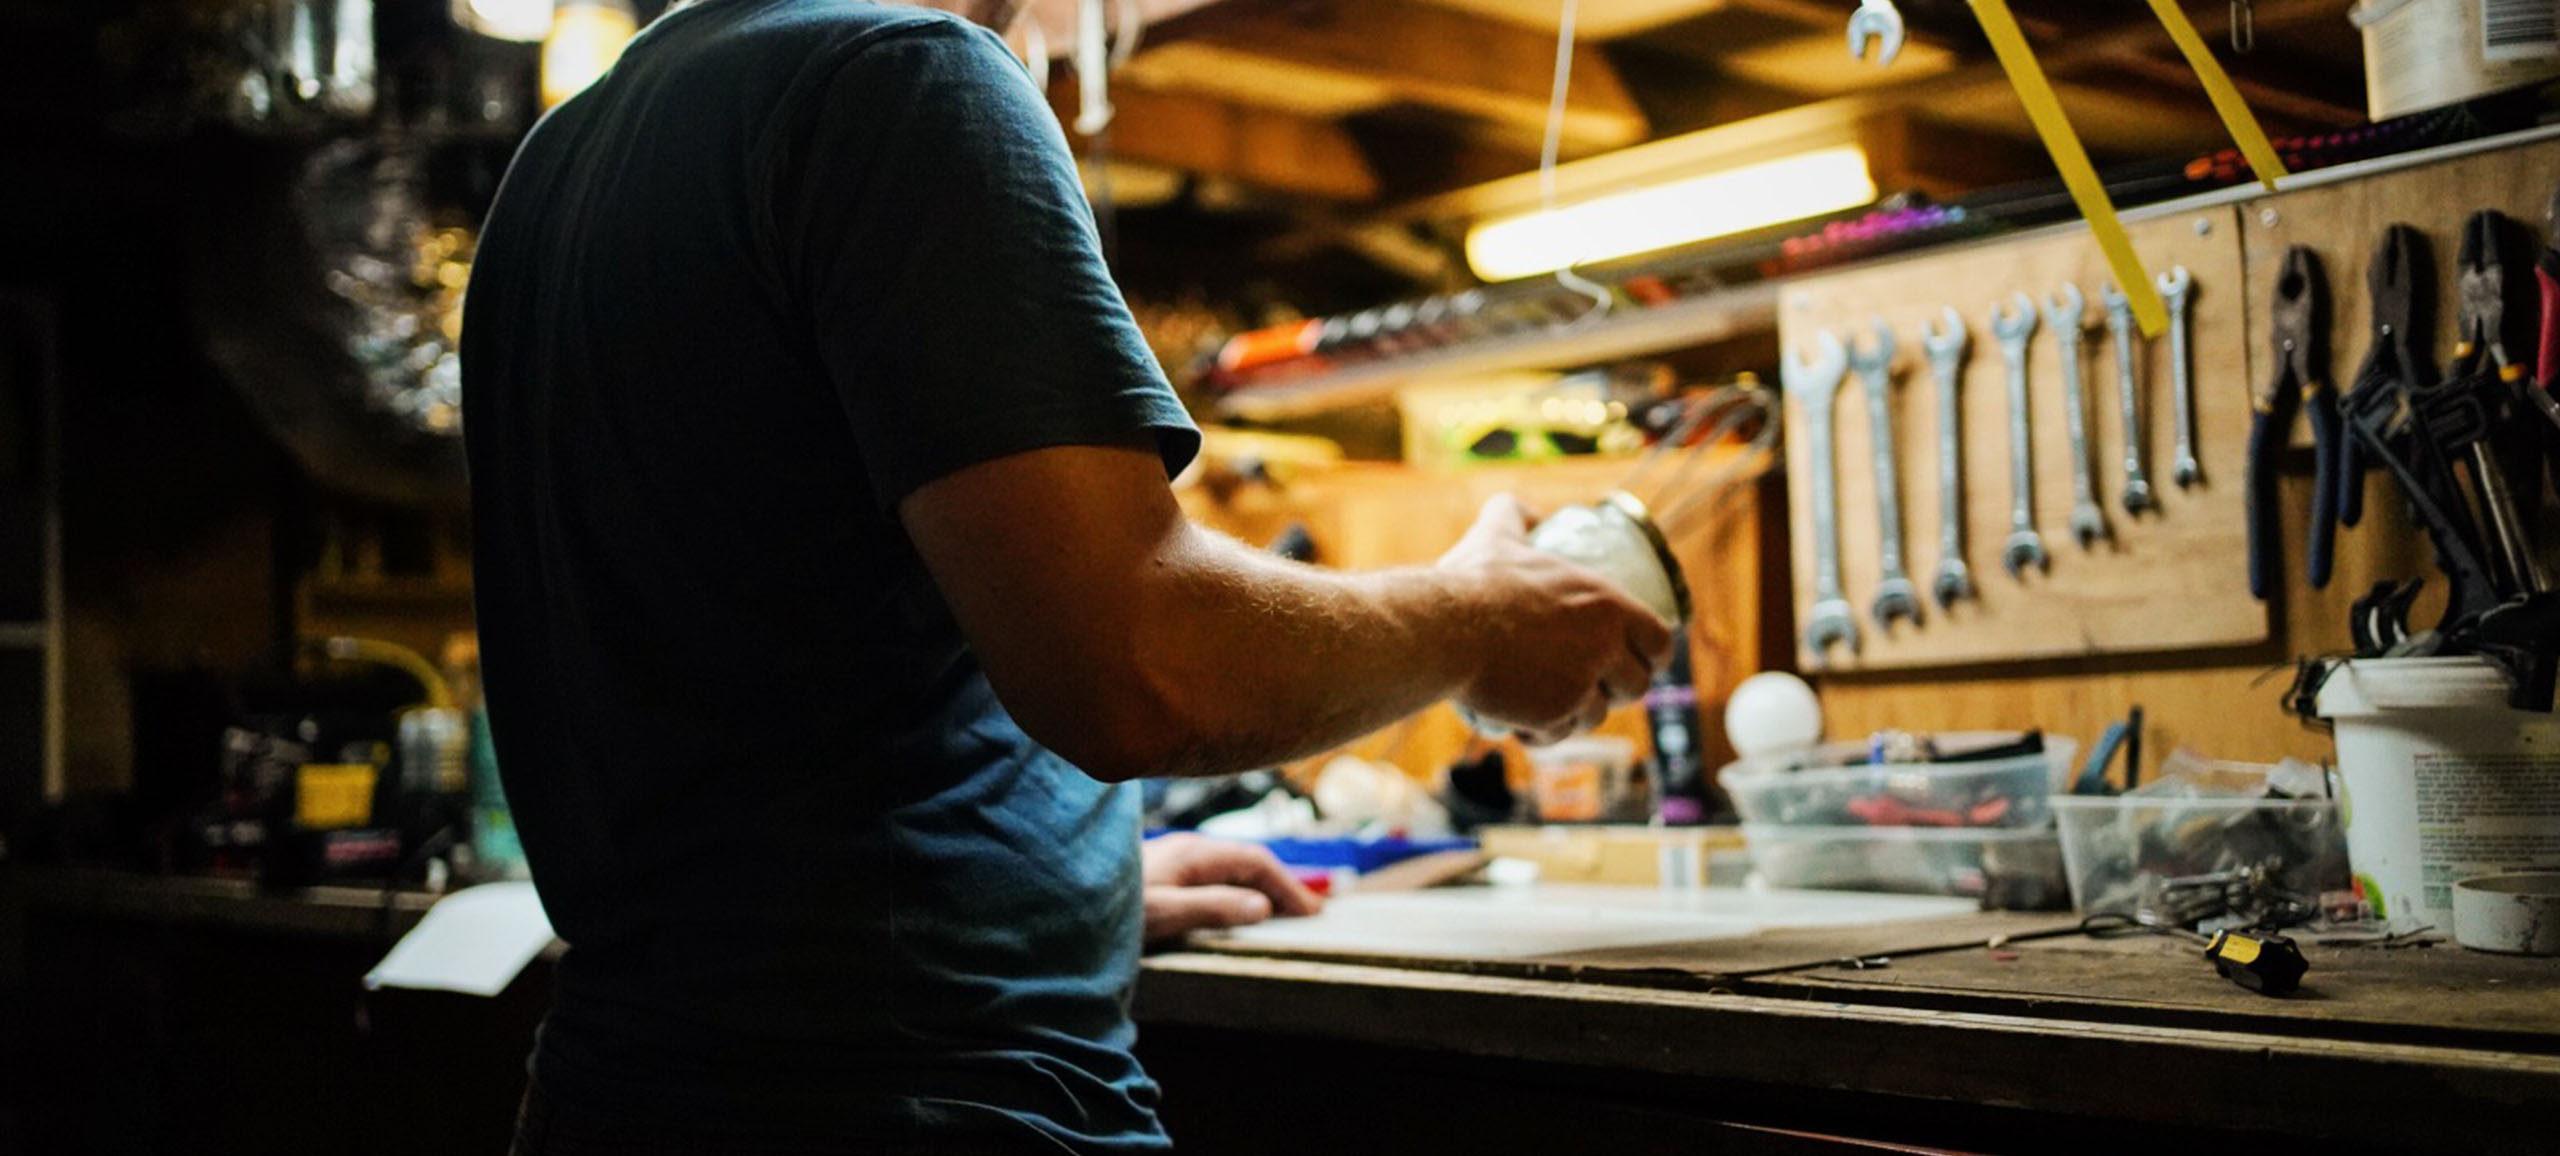
Step 5: Melting the Wax
For waxing, I used:
A Dynamic care wax pot
Dynamic care Chain wax
Process:
Set the pot to “Extra Hot” to melt the wax
Waited until fully liquefied
Switched to “Perfect” setting
Why change settings?
Because once melted, you don’t want to overheat or burn the wax.
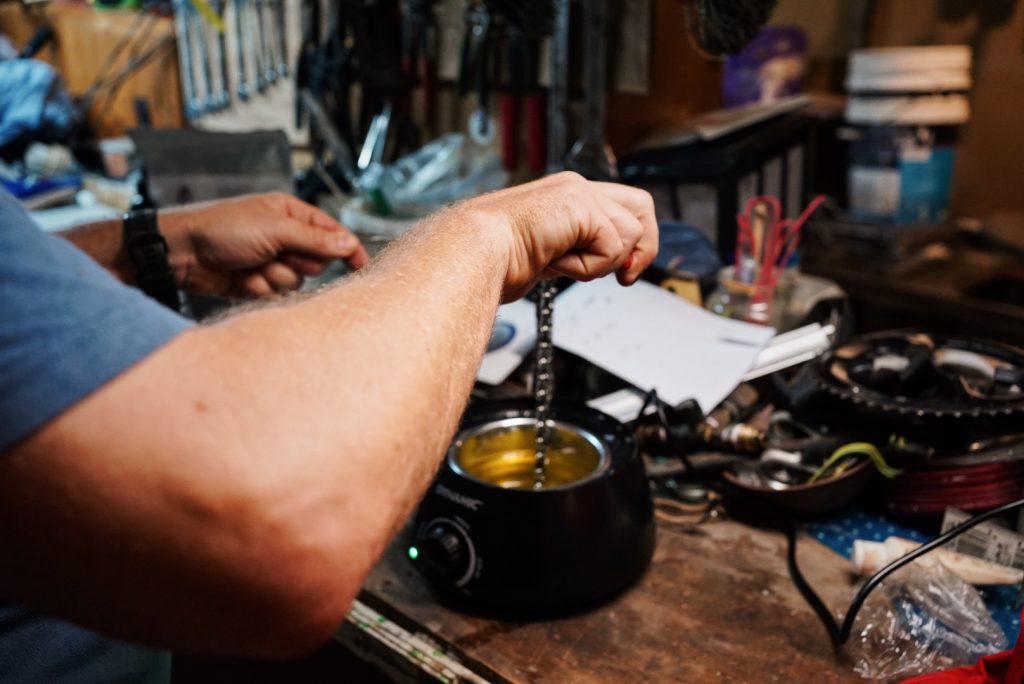
Step 6: Submerging the Chain
Time for the satisfying part.
Dropped the chain into the melted wax
Gently agitated the chain
Then I noticed:
Small bubbles appearing
This is normal — air escaping from inside the chain rollers.
Tips: move it around again when you see the bubbles, as it helps to penetrate the wax deeper.
Step 7: Letting It Sit
I left the chain in the wax for:
⏱️ 10–15 minutes
No need to constantly stir — just let the wax do its thing.
Step 8: Cooling Down
After removing the chain:
Hung it up
Waited until cool enough to handle
At this stage, the chain looks stiff and heavily coated.
Totally normal.
Step 10: Breaking the Wax (By Hand)
Once cooled:
Flexed the chain manually
You’ll hear / feel the wax cracking slightly.
This frees up the links.
Step 11: Back on the Bike
Reinstalled the chain.
Then:
Spun the drivetrain
Backpedalled
Shifted through gears
This “breaks” the wax further and restores smooth movement.
Final Thoughts as a First Timer
What surprised me most:
-. Easier than expected
-. Cleaner than oil lubes
-. Very satisfying process
Biggest takeaways:
Degreasing is crucial
Drying really matters
Don’t overheat the wax
Be patient
Would I do it again?
Absolutely.
Once you get past the idea of “hot wax,” it becomes just another simple maintenance routine — and a very rewarding one at that.
Dynamic Care Products
Dynamic is part of a young company; the brand has existed for over 30 years, but it is only since early 2020 that we stand on our own two feet. Founded in the 80’s and once part of a German distribution company in the cycling industry, we build on a great legacy. Acquired by Tacx and later Garmin we felt Dynamic deserved full focus and attention, so we took the leap. The team at Dynamic has a long history in the cycling industry and a strong network to back us up. From our headquarters in the Netherlands, we serve cyclists all over the planet.